Raspberry Pi Zigbee | How to Create a Raspberry Pi Zigbee Gateway

A Raspberry Pi Zigbee gateway lets you control hundreds of smart home devices locally without relying on proprietary hubs. By combining a Raspberry Pi with a Zigbee adapter and open-source software like Zigbee2MQTT, you can create a universal smart home hub that unified sensors, lights and switches from different brands.
Key Takeaways
- A Raspberry Pi Zigbee hub acts as a universal controler for smart devices.
- Zigbee uses low-power mesh networking, ideal for smart sensors and switches.
- A Zigbee USB dongle is required because the Raspberry Pi does not include Zigbee radio hardware.
- Zigbee2MQTT and Mosquitto convert device signals into automation events.
- Local automation ensures your smart home continues working even if the internet goes down.
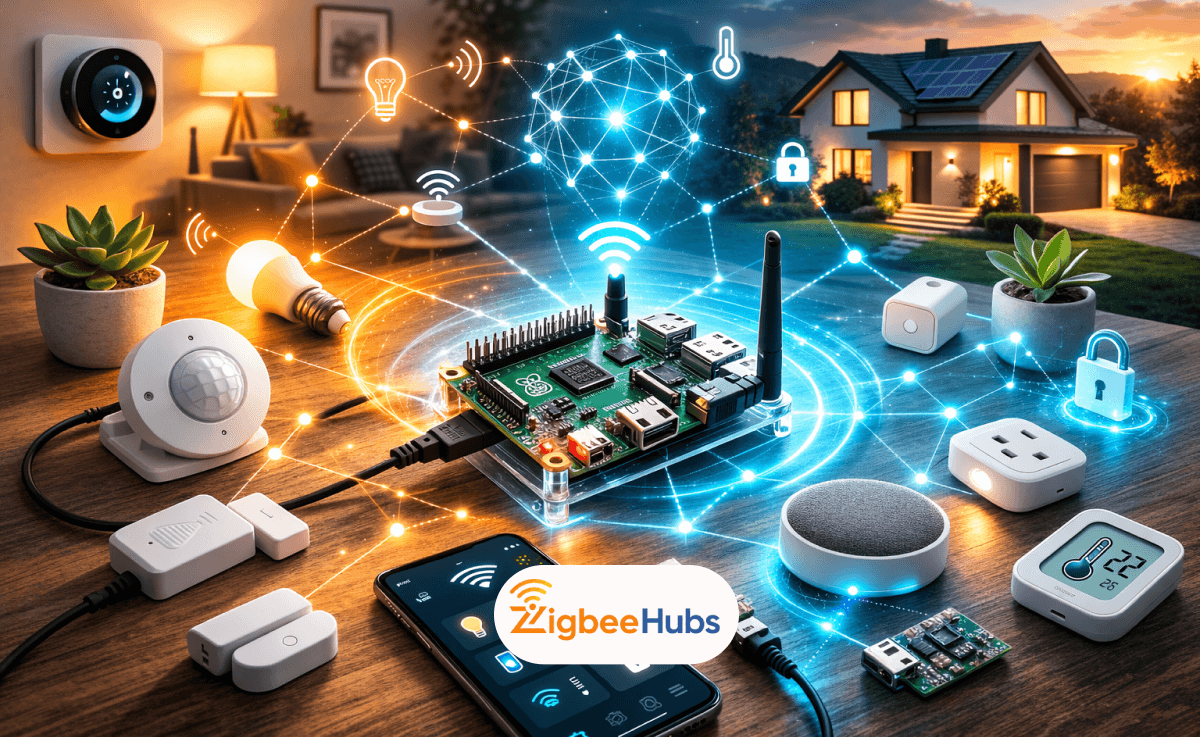
What is a Raspberry Pi Zigbee Gateway?
A Raspberry Pi Zigbee Gateway is a DIY smart home controller that uses a Raspberry Pi computer and a Zigbee radio adapter to manage Zigbee devices.
Instead of relying on brand-specific hubs, the Raspberry Pi acts as a universal bridge between Zigbee devices and automation software such as:
- Home Assistant
- Platypush
- OpenHAB
The Zigbee adapter receives wireless signals from devices like bulbs or sensors. The software layer then converts those signals into automation events your system can understand.
In my own setup, I run a Raspberry Pi 4 with a Zigbee USB coordinator, and it replaced three separate hubs. That single change simplified my entire network.
Why Many Smart Homes End Up in "Bridge Hell"?
Many smart home brands require their own proprietary hub.
For example:
- Philips Hue → Hue Bridge
- IKEA → TRÅDFRI Gateway
- Aqara → Aqara Hub
Over time, your router ends up surrounded by small plastic bridges.
This creates several problems:
- Multiple smartphone apps
- Cloud dependency
- Limited cross-brand automation
- Extra hardware clutter
A Raspberry Zigbee hub solves this problem by acting as one universal controller.
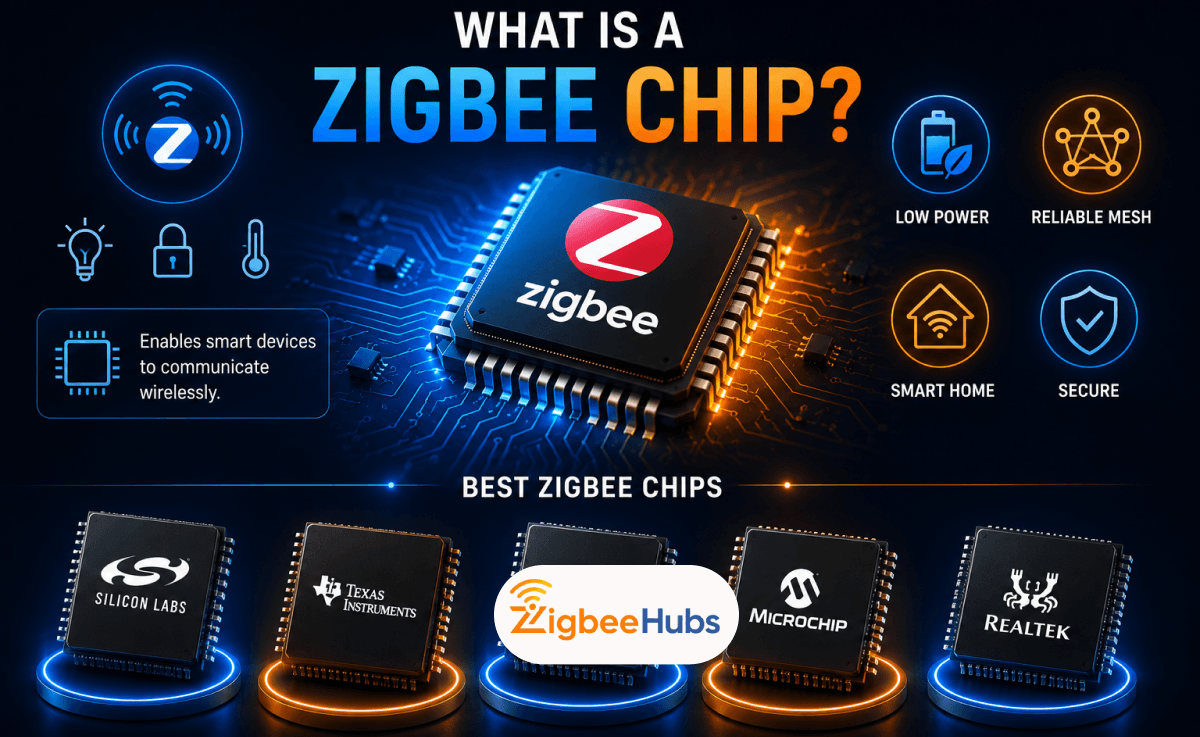
Why Zigbee is Ideal for Smart Homes?
Zigbee became a dominant IoT protocol because it was designed specifically for home automation.
Low Power Consumption
Zigbee devices use extremely little power.
Battery-powered sensors can run for years without replacement.
Mesh Networking
Zigbee devices form a mesh network.
Every powered device acts as a signal repeater, extending coverage across the house.
This means:
- Better reliability
- Longer network range
- More stable connections
Local Communication
Zigbee communication happens locally inside your home.
Even if the internet fails, your devices continue working.
Open Ecosystem
Because Zigbee is an open standard, your Raspberry Pi and Zigbee setup can control devices from hundreds of brands.
Zigbee vs ZWave: Which Protocol Should you Choose?
Both Zigbee and Z-Wave are mesh networking technologies, but they differ technically.
| Feature | Zigbee | Z-Wave |
|---|---|---|
| Frequency | Typically 2.4 GHz | 800–900 MHz |
| Device Limit | Up to 65,000 devices | Up to 232 devices |
| Indoor Range | ~12 meters | ~30 meters |
| Interference | Possible Wi-Fi overlap | Minimal interference |
Zigbee is often preferred because:
- Devices are more widely available
- Hardware is usually cheaper
- Device limits are significantly higher
What Hardware Do you Need for a Raspberry Pi Zigbee Hub?
To build a Raspberry Pi Zigbee gateway, you need three main components.
1. Raspberry Pi
The Raspberry Pi 4 is the best option for most setups.
It features:
- 64-bit quad-core CPU
- Up to 8GB RAM
- Excellent Linux support
Older models like Raspberry Pi 3B+ also work well for dedicated Zigbee hubs.
Pro Tip:
If you plan to run additional services like Home Assistant, choose 4GB RAM or higher.
2. Zigbee Adapter (Dongle or Raspbee)
The Raspberry Pi does not include a Zigbee radio.
You must add one using:
USB Dongles
- Sonoff Zigbee 3.0 USB Dongle
- ConBee II
- CC2531
GPIO Modules
- Raspbee
These devices act as the Zigbee coordinator.
The coordinator forms and manages your Zigbee network.
Pro Tip:
Use a USB extension cable for the dongle. USB 3.0 ports on the Raspberry Pi can cause radio interference.
3. Reliable Storage
Most Raspberry Pi setups use microSD cards.
However, home automation generates constant logs and database writes.
Over time this can wear out SD cards.
Many experienced users switch to:
- USB SSD
- NVMe drives via adapter
This greatly improves reliability.
Recommended Zigbee Hardware for your Smart Home
When building a Raspberry Pi Zigbee system, hardware choice directly affects network stability.
Below are some reliable devices.
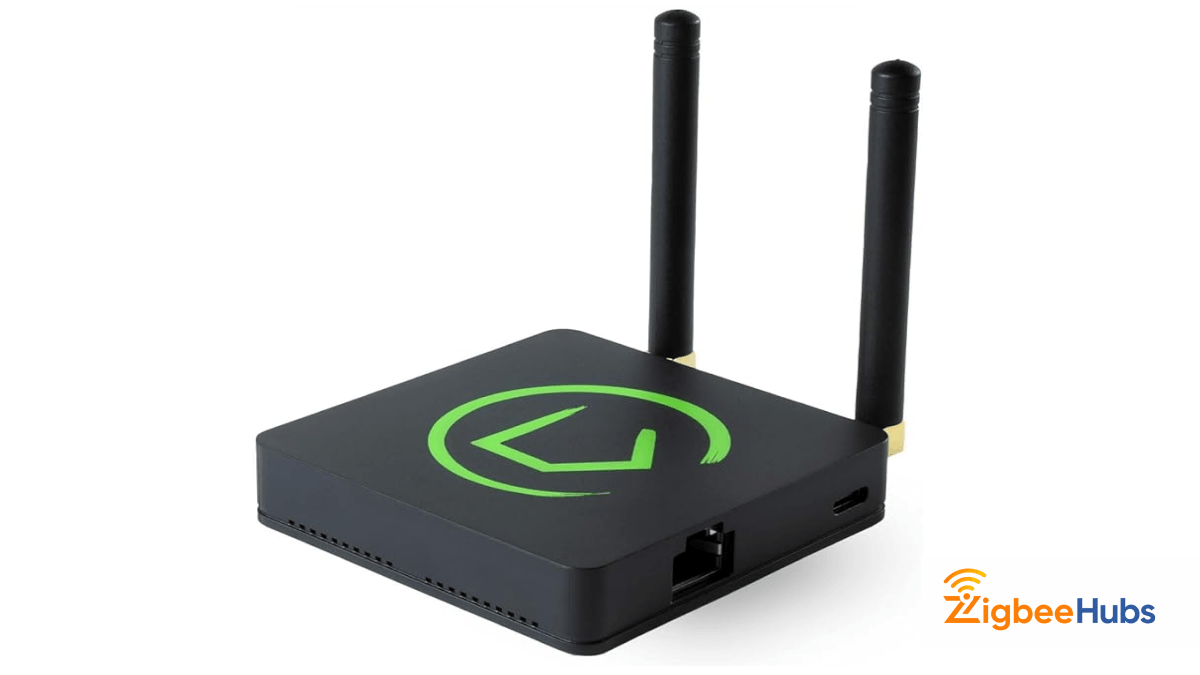
⭐Hubitat Elevation C-8 Pro [Recommended]
Hubitat is a dedicated local automation hub designed for advanced smart homes.
Key Features
- Built-in Zigbee and Z-Wave radios
- Local processing automation
- Large device compatibility
Pros
- Very fast local automations.
- No cloud dependence.
Cons
- Higher cost compared to DIY setups.
Some other options include:
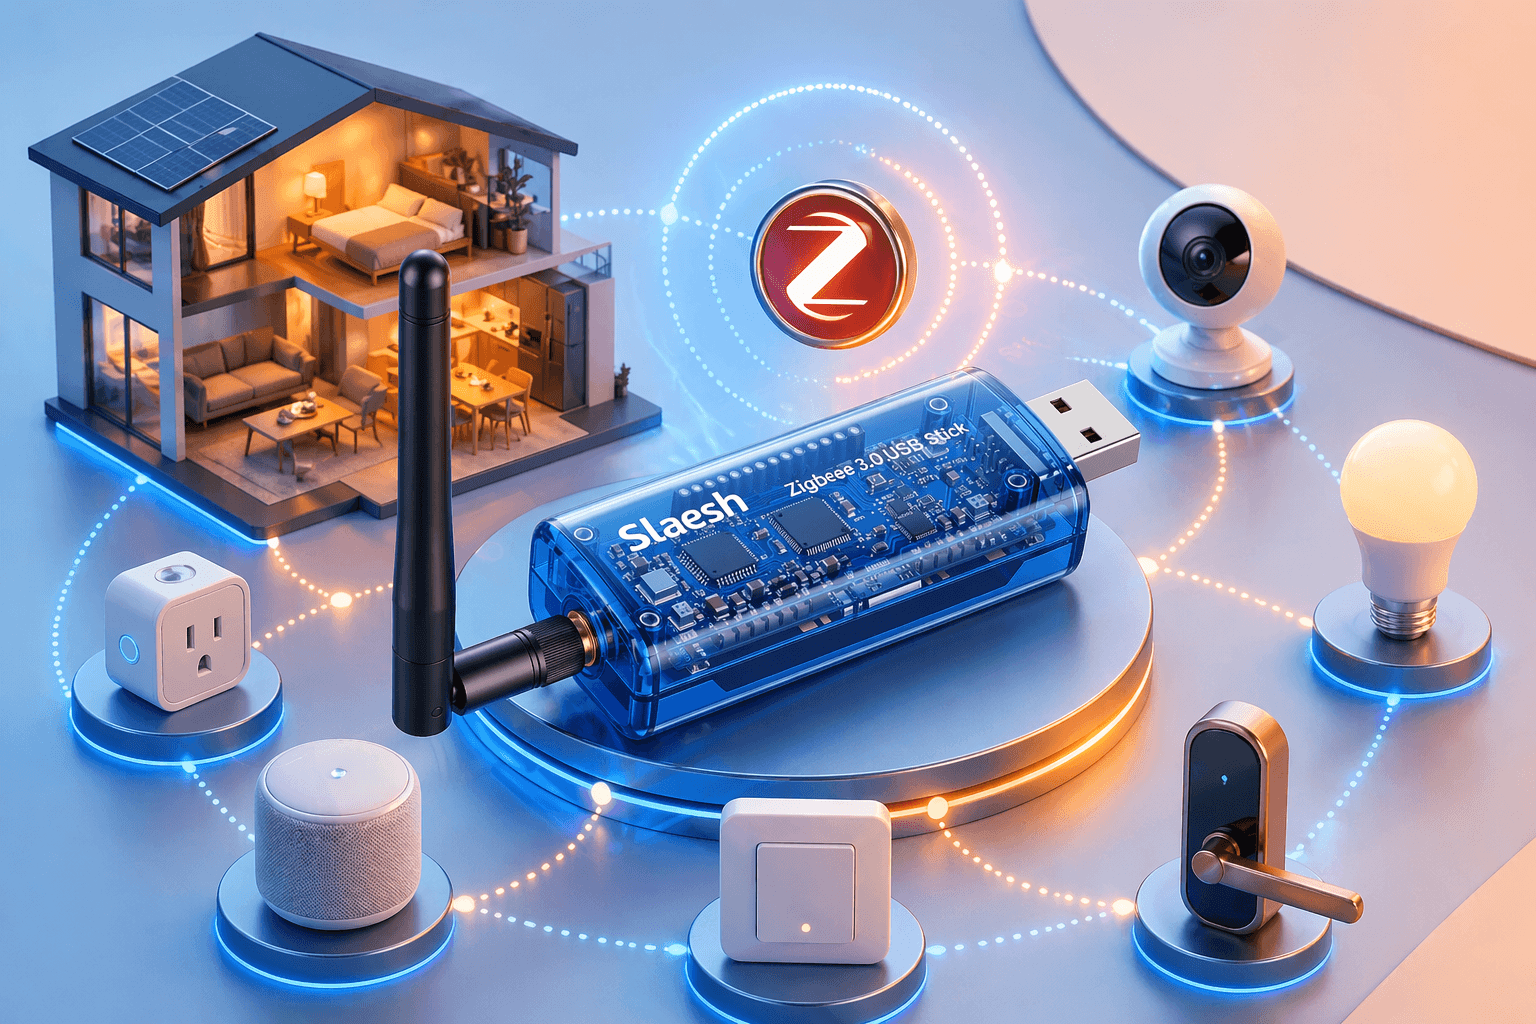
SONOFF Zigbee 3.0 USB Dongle Plus
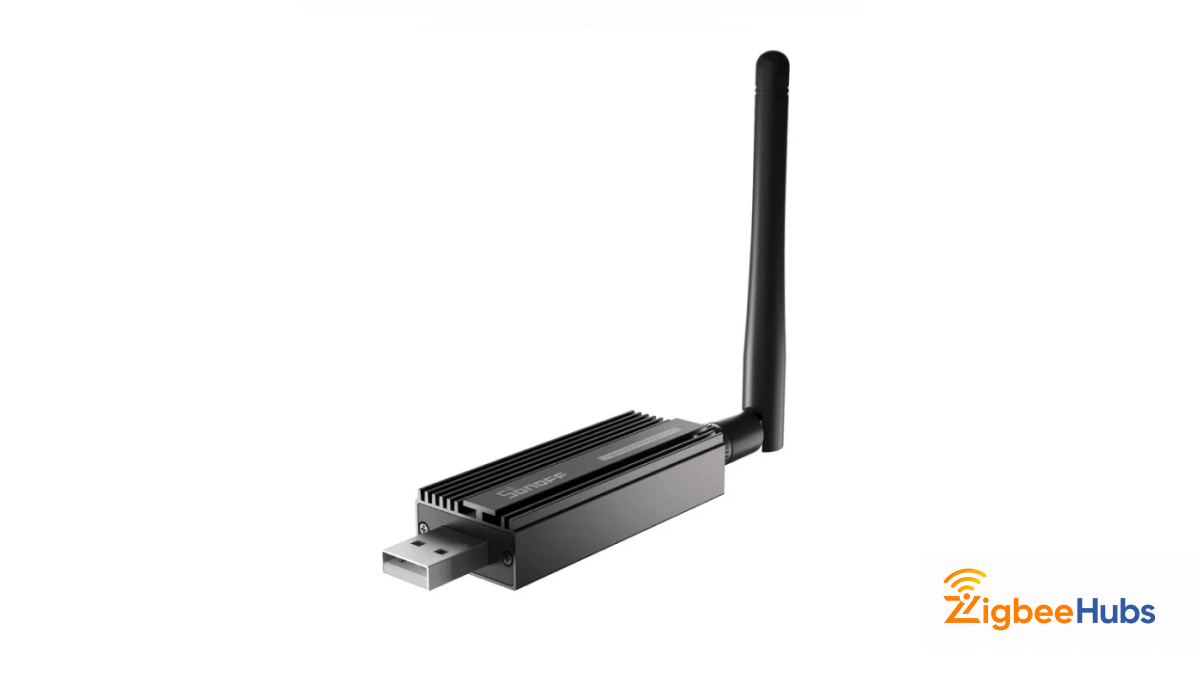
This is one of the most popular coordinators for Raspberry Pi Zigbee networks.
Key Features
- TI CC2652P chipset
- External antenna
- Excellent range
Pros
- Extremely stable.
- Affordable.
- Ideal for Zigbee2MQTT.
Cons
- Requires a host device like a Raspberry Pi.
Aqara Hub M3
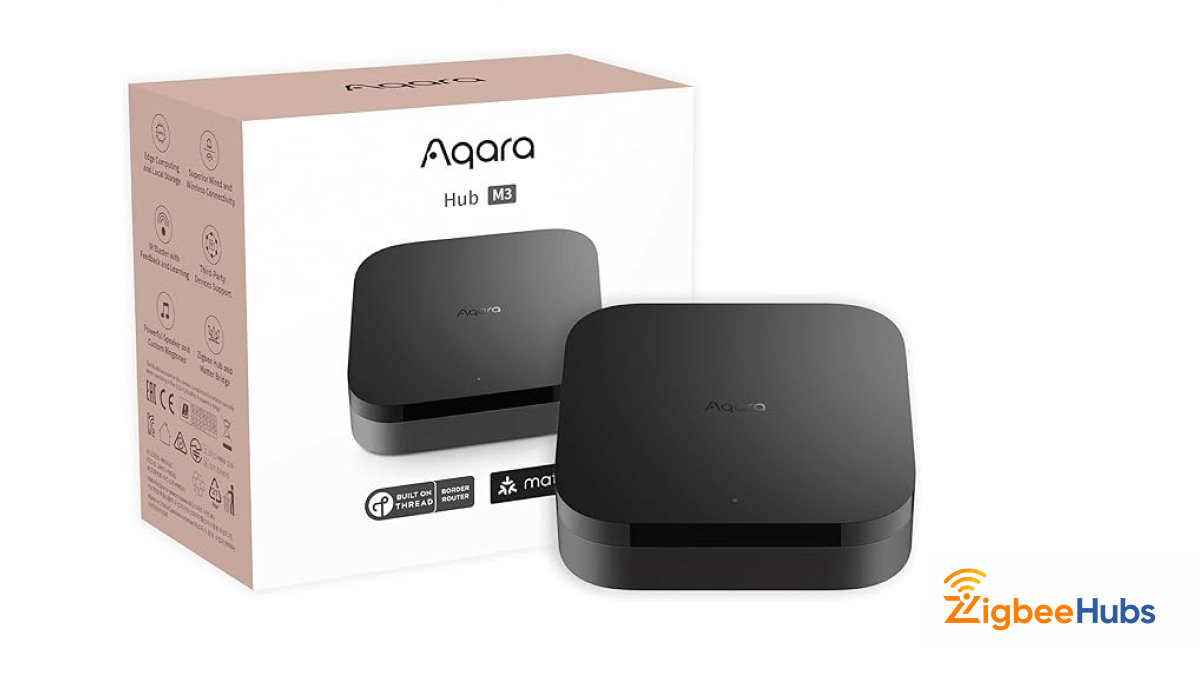
The Aqara M3 bridges the gap between proprietary ecosystems and open automation.
Key Features
- Zigbee support
- Matter compatibility
- Local automation storage
Pros
- High build quality.
- Excellent Aqara ecosystem support.
Cons
- Best optimized for Aqara devices.
Homey Pro 2023
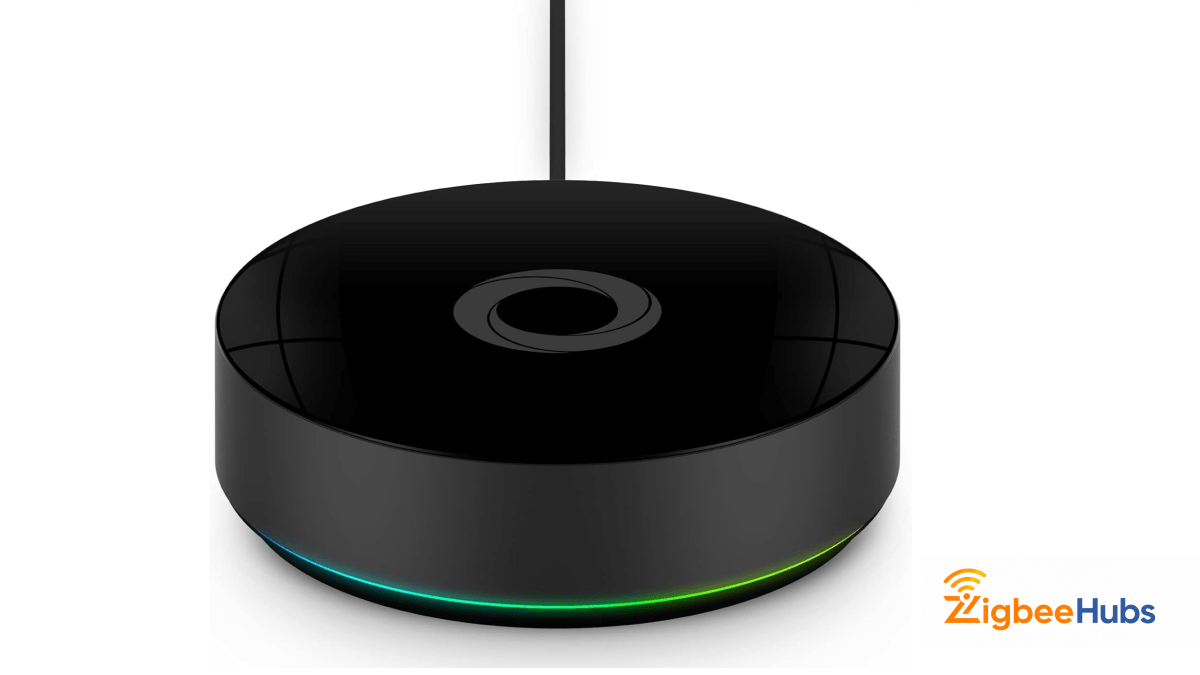
Homey Pro supports nearly every smart home protocol.
Key Features
- Zigbee
- Z-Wave
- Wi-Fi
- Bluetooth
- Infrared
- Matter
Pros
- Extremely user friendly.
- Powerful automation engine.
Cons
- Expensive compared to DIY hubs.
What Software Powers a Raspberry Pi Zigbee Hub?
Hardware alone is not enough. You need software that converts Zigbee signals into automation events.
Zigbee2MQTT
Zigbee2MQTT is the most popular open-source Zigbee bridge.
It converts Zigbee signals into MQTT messages.
This allows platforms like Home Assistant to treat devices as simple data events.
Example events include:
- Motion detected
- Temperature update
- Light switched on
Mosquitto (MQTT Broker)
Mosquitto acts as the message broker.
Think of it like a post office.
- Zigbee2MQTT sends messages
- Mosquitto receives them
- Automation software reads them
Mosquitto is widely used because it is:
- Lightweight
- Stable
- Easy to run on Raspberry Pi
How to Build a Raspberry Pi Zigbee Gateway (Step-by-Step)
Below is the process I typically use when building a Raspberry Pi and Zigbee hub.
Step 1: Install Raspberry Pi OS
Use Raspberry Pi Imager to flash the operating system.
During setup:
- Enable SSH
- Set Wi-Fi credentials
- Assign a hostname
This allows remote management.
Step 2: Connect the Zigbee Dongle
Insert the Zigbee USB adapter into the Raspberry Pi.
For Raspberry Pi 4, it is best to:
- Use a USB extension cable
- Place the dongle away from the Pi
This improves signal reliability.
Step 3: Install Mosquitto MQTT Broker
Run the following commands:
sudo apt updatesudo apt install -y mosquitto mosquitto-clientssudo systemctl enable mosquitto
This installs and enables the MQTT broker.
Step 4: Install Zigbee2MQTT
Clone the repository and install dependencies.
Then configure the configuration.yaml file to include:
- MQTT broker IP address
- Zigbee adapter port
- Network settings
Step 5: Pair Your Zigbee Devices
Once Zigbee2MQTT is running:
- Open the web interface at
http://RaspberryPiIP:8080 - Enable Permit Join
- Put the Zigbee device into pairing mode.
The device will automatically appear in the dashboard.
Benefits of a Dedicated Raspberry Pi Zigbee Hub
Running Zigbee on its own Raspberry Pi offers several advantages.
Better Network Placement
The Raspberry Pi is small.
You can place it centrally in your house to improve mesh coverage.
Improved Stability
If Zigbee runs on a dedicated device, your network continues working even if you restart your main automation server.
Complete Privacy
A Raspberry Pi Zigbee gateway eliminates most cloud dependencies.
Your smart home data stays inside your network.
My Practical Tips After Running a Raspberry Zigbee Network
After running a Raspberry Pi Zigbee setup for several years, these lessons matter most:
These small improvements dramatically increase network stability.
Conclusion
A Raspberry Pi Zigbee gateway is one of the most powerful ways to build a truly open smart home. By combining a Raspberry Pi, a Zigbee adapter, and software like Zigbee2MQTT, you can create a universal hub that replaces multiple proprietary bridges.
The result is a fast, private, and highly flexible automation system that continues working even without the internet.
If you want to escape “bridge hell” and gain complete control of your smart home ecosystem, building a Raspberry Pi Zigbee hub is one of the best projects you can start today.